概述
期末快要来了,各种大作业蜂拥而至,其中就包括于士琪的Java Web的大作业。为了摆脱历史性遗留的各种管理系统(…),我决定做一个简单版的微信,考虑对原生Android开发并不是很熟悉(特别是界面),还有微信小程序的出现,还有越来越火看起来势不可挡的React Native以及其跨平台性,还考虑到React Native的简单易用(好吧,被看穿了),我决定用React Native和JSP(这个是必须的了)来做这次的Java Web大作业。在此之前,先做一个简单的计算器来练练手。
设计
界面设计
先看看实现后的效果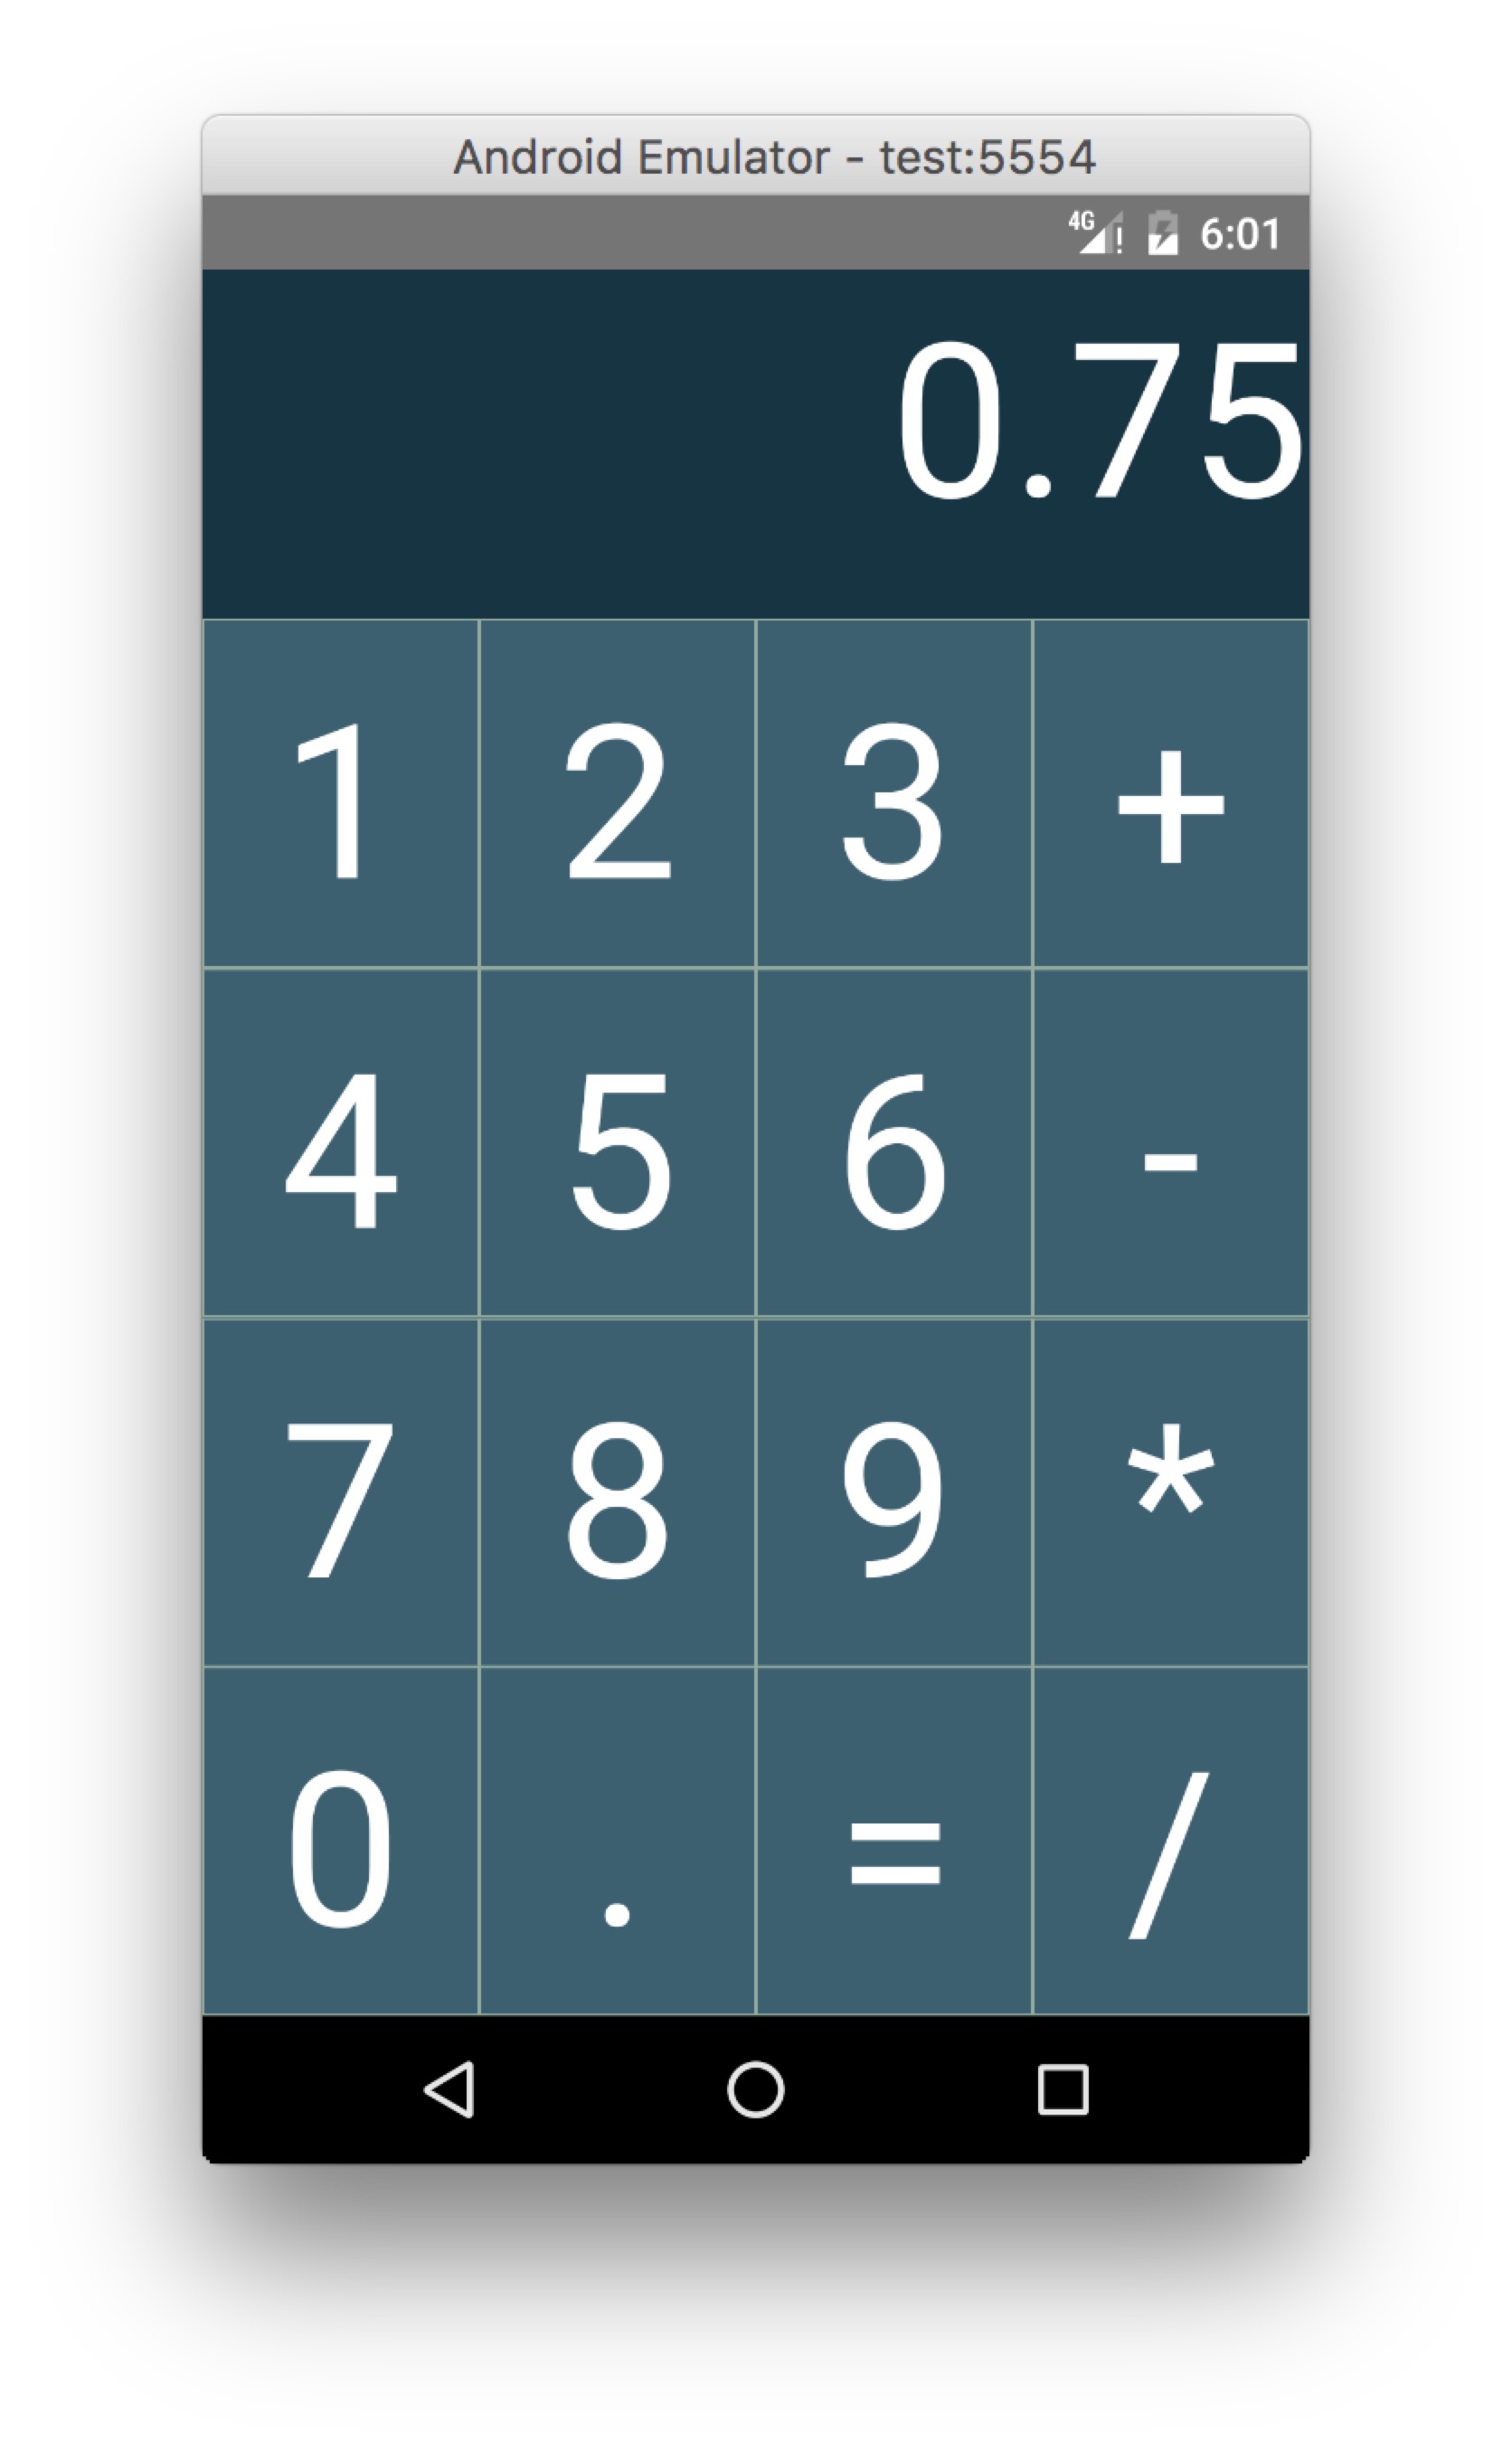
界面设计思路如下:
- 整个程序界面为一个大的container(style.container)
- 大界面分为两个部分,一个是显示区域(style.displayContainer)(顶部显示输入的数字的区域),一个是输入区域(style.inputContainer)(下面的按钮区域)
- 显示区域只包含一个Text组件
- 输入区域包含许多行(style.inputBoxRow)
- 每一行包含若干个按钮(style.inputBox)
inputButton(界面中的按钮)类代码:
主类(Calculator)程序中的render代码以及绘制按钮的函数代码:
噢对了,还有样式定义的代码:
逻辑设计
接下来就是逻辑设计了,首先看看主类的state
思路如下:
程序通过一个mode变量来记录程序的状态(一个自动机)。
- 当mode为0,数字键按下时候,mode立即变为1,显示的内容被设置为刚才按下的键的内容;其它键按下无效。
- 当mode为1,数字键按下的时候,把按下的键的内容加到显示内容的末尾;当符号键(加减乘除)按下的时候,mode变成2,并把当前显示的内容保存到saveNumber变量中;
- 当mode为2,数字键按下时候,mode立即变为3,显示的内容被设置为刚才按下的键的内容;其它键按下无效。
- 当mode为3,数字键按下的时候,把按下的键的内容加到显示内容的末尾;当等号键按下的时候,计算结果并显示到屏幕,mode变为0;
- 循环
|
|
打包发布应用
停留在Debug版本的React Native应用运行时候是需要连接开发服务器的(默认是本机的8081端口),这样的话,就不能把debug版本的apk发送到其它系统上去运行了。解决办法是生成签名(因为没有root权限的安卓系统不允许没有签名的应用安装),把应用打包成release版本的apk,然后就可以发送到其它系统去测试了。步骤如下:
生成密钥
进入android/app/,运行如下命令生成签名1keytool -genkey -v -keystore my-test-key.keystore -alias my-key-alias -keyalg RSA -keysize 2048 -validity 10000创建assets文件夹
在android/app/src/main下创建assets文件夹获取bundle文件并保存
1curl -k "http://localhost:8081/index.android.bundle" > android/app/src/main/assets/index.android.bundle添加gradle的keystore配置
1234567891011121314151617//在 defaultConfig 后面添加signingConfigs {release {storeFile file("/my-test-key.keystore") //替换成你实际密匙文件所在位置storePassword "生成密钥步骤中的密码"keyAlias "my-key-alias"keyPassword "生成密钥步骤中的密码"}}//修改原来的配置,主要是加入 signingConfig 这一行buildTypes {release {minifyEnabled enableProguardInReleaseBuildsproguardFiles fetDefaultProguardFile('proguard-android.txt), 'proguard-rules.pro'signingConfig signingConfigs.release}}执行打包脚本
进入android目录,执行1./gradlew assembleRelease发布应用
拷贝android/app/build/outputs/apk下的apk文件(release版本)发送到你想要测试的系统上安装运行即可。